

What is Postman?
I have been using Postman for quite some time now. Prior to postman which is quick to install as browser plugin i was extensively using Fiddler. This is an introduction to postman plugin. Postman 2.0 has a new look and feel and is a great tool for testing REST APIs
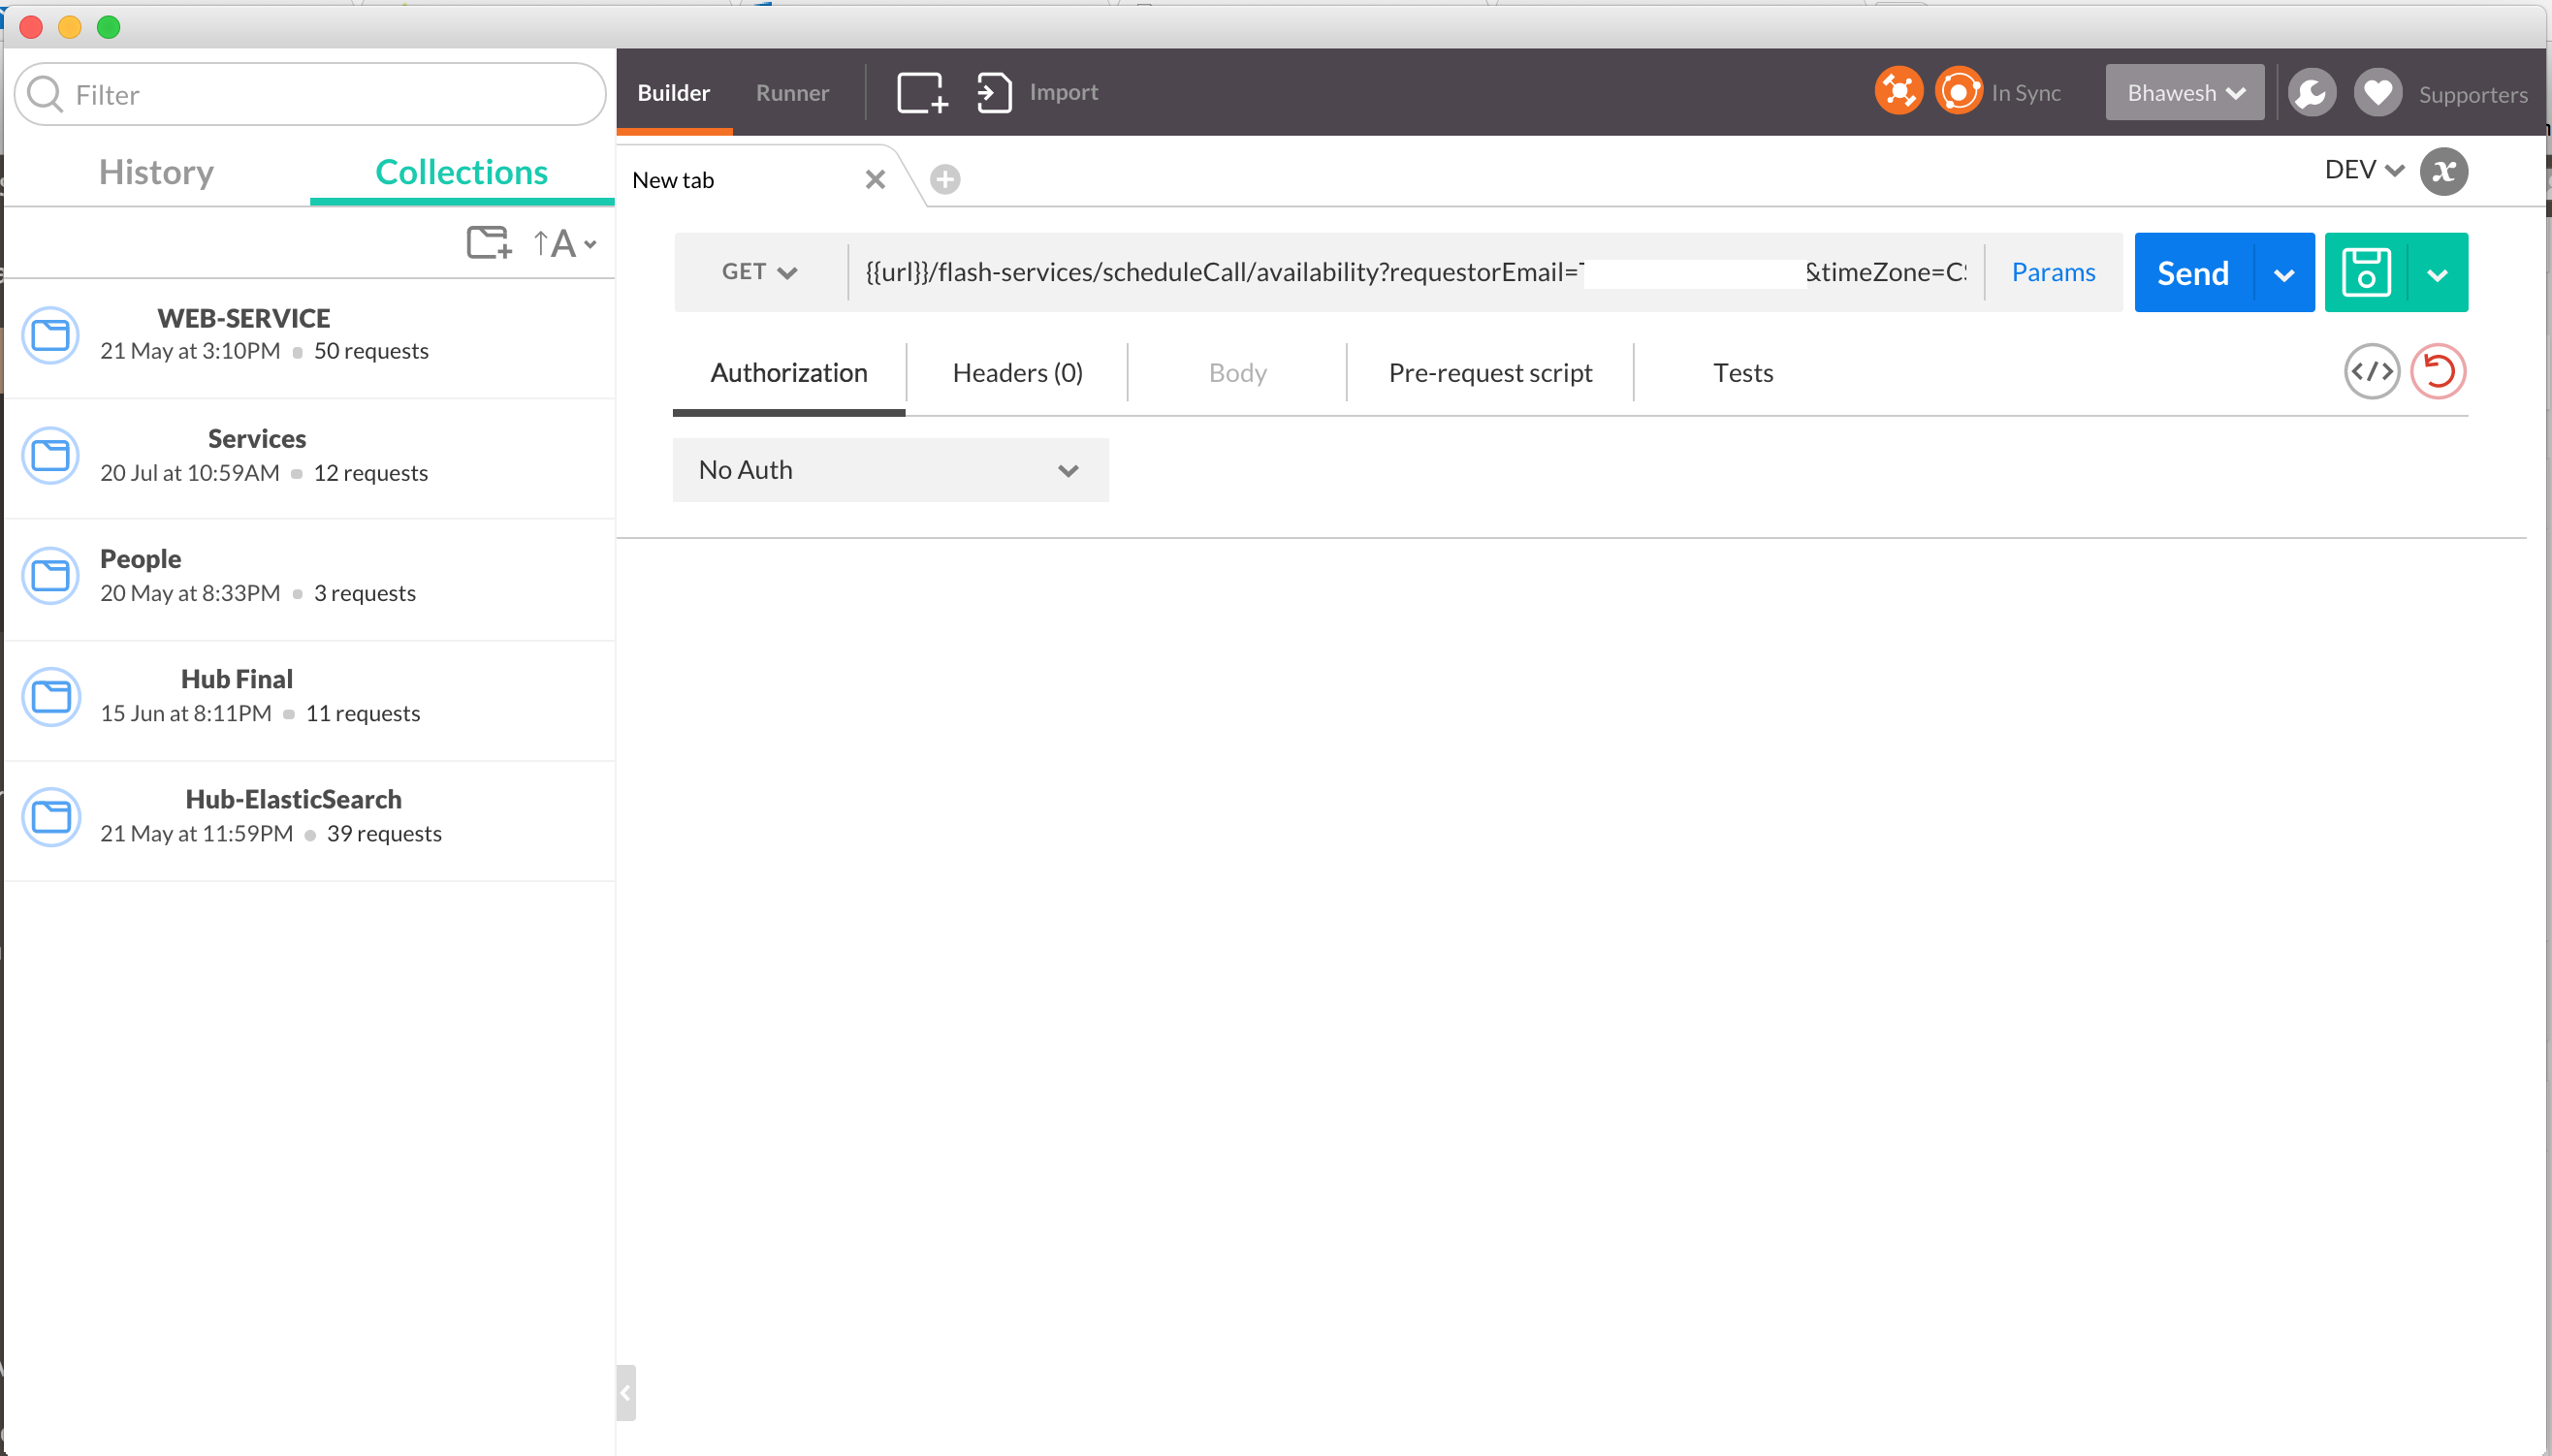
Postman when launched displays the below given screen. I have some collections added in postman that are showing up in the picture below: –
Features that we are going to discuss are :-
- Where to get Postman plugin
- Creating a collection
- Manage one or more environments
- Manage environment variables
- Manage Presets
- Authorization using JWT token
(OAUTH)
- Executing REST APIs
- Export and Import Collections/Environments/Global variables
Where to get Postman plugin
Open https://www.getpostman.com/ in web browser and click on “Get it now” button. It will Open chrome web store window with postman plugin for installation. You can alternatively go to https://chrome.google.com/webstore/detail/postman/fhbjgbiflinjbdggehcddcbncdddomop directly and install this plugin.
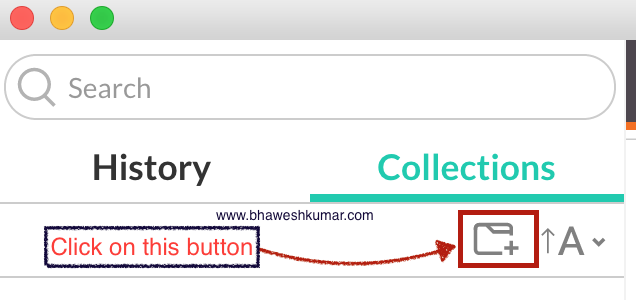
Creating a collection
Postman creating a new collection
Click on tab shaped icon with a plus sign. It opens a popup window for name and description for the collection name. You can create one or more collections as per your requirements. I usually create a new collection for each project. Collections support sub folders or sub groupings making it easier to manage requests.
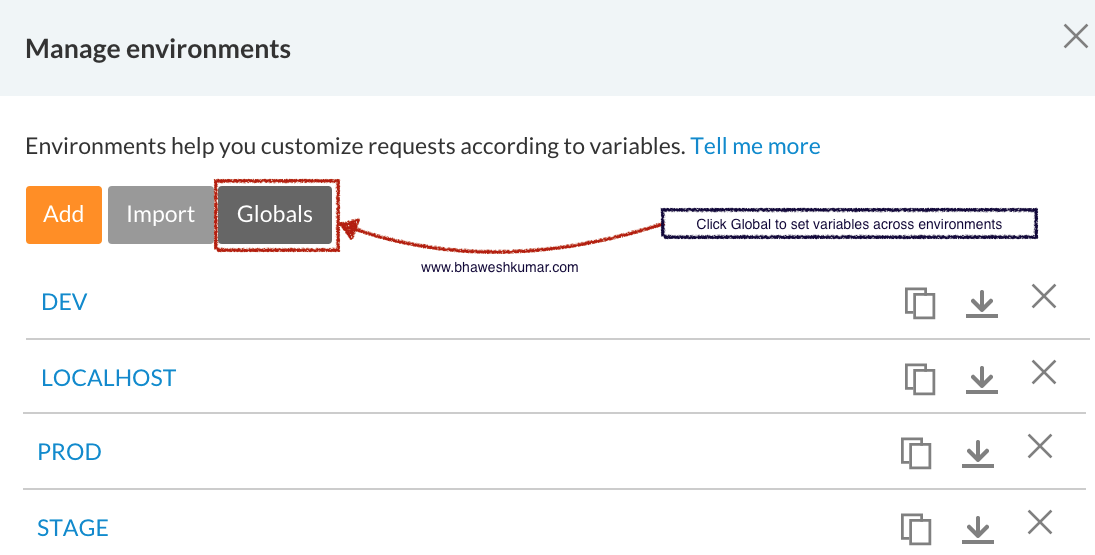
Manage one or more environments

Postman manage environment
To create a new environment click on manage environment link as shown in the picture above. Environment can be named as per requirement, in the screenshot you can see two environments, DEV and LOCALHOST. Manage environment allows you to edit or add new environments. The great thing having different environment is that you can quickly switch environments for a given REST API call and execute it in your local or dev or any other environment.
Manage environment variables
Postman manage global variables
Clicking on Globals button open the below given window within manage environments popup. The below given window take key value pair. In the example below we have set authorization
These variable names will be referred into header section of the request we will built further down in this post. Once set they will retain value across different environments.
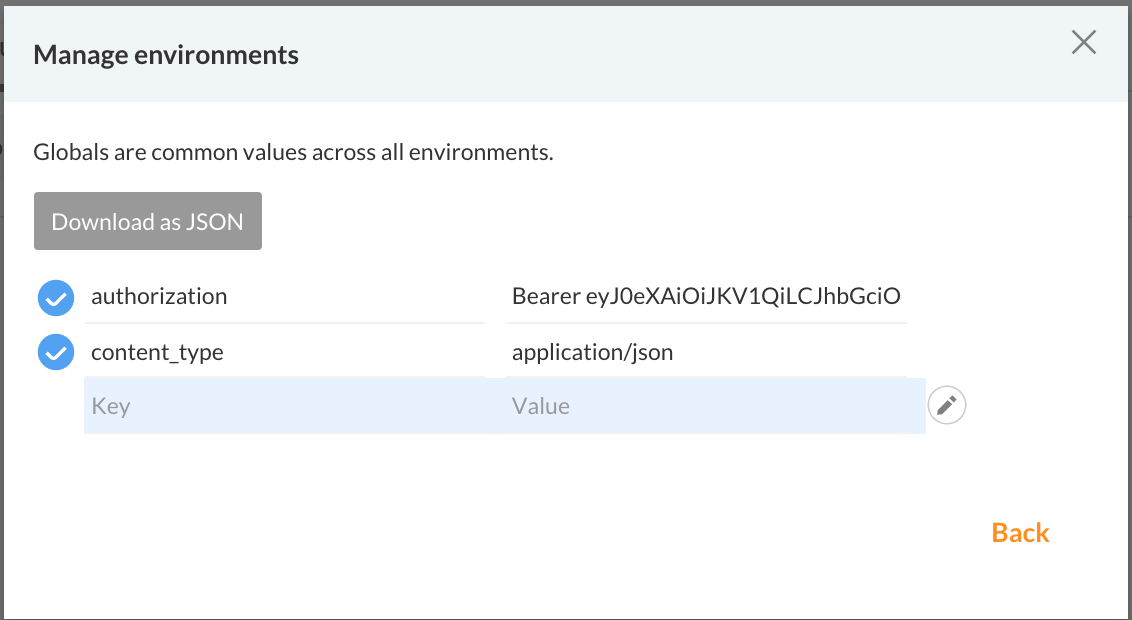
Postman global variable window
Manage Presets

Postman creating, viewing, managing presets
Presets can be defined using Manage presets button. You can add/edit presets. In the above picture we have a preset called Mandatory. It adds two HTTP headers Authorization and Content-Type to each REST API call. While building these requests if we select a preset they are available for each execution.
You can define one or more headers as required by the REST API you are executing.
Authorization using JWT token (OAUTH )
)
Authorization HTTP Header refers to a global variable in double curly braces. It is Postman plugins way to define a variable. At execution time it will pick authorization value defined in the global environment variable. The JWT token is shown in one of the previous screenshots while defining global variables in this post. It is in the following format Bearer <Token>.
Executing REST APIs
In my example pictures you will find {{url}} url with in two curly braces is used. It is a global variable defined along with authorization and content_type to define base url for each environment.
For example my LOCALHOST url is http://localhost:8080/Employee/1 while my DEV url is https://dev.server.com/Employee/1 , this can be rewritten to have same url if we make a url variable in LOCALHOST environment as url = http://localhost/8080 and another url variable in DEV as url = https://dev.server.com.
If it is done we can just have one URL for our REST API as {{url}}/Employee/1 and it will not matter if we execute it in LOCALHOST or DEV environment.
Lastly, to execute a request you have to provide a valid REST endpoint along with the HTTP verb (GET/POST/DELETE/PUT etc) and provide body of request if required by your HTTP verb and click execute.
Export and Import Collections/Environments/Global variables
You can export collections, environment and global variables using export buttons provided in their respective places. These files are exported as JSON. You can also build these using import feature. Postman 2.0 also provides a sync up feature. You can sign in to Postman and will be able to sync up everything we described in this post. It will be readily available in any Chrome browser on any machine once you sign in and sync.
Auto Amazon Links: No products found.